Soldering has been used to join metals together for hundreds of years and still remains one of the basic and most commonly used methods for securing sheet metal joints and seams.
Granted that there are two kinds of soldering, soft and hard, this blog will focus mainly on soft soldering, since this is the method used in many DIY projects. It is the technique used in most electrical and plumbing pursuits around the house, as well as in joining and repairing objects made of sheet metal or wire. It is also used for sealing and waterproofing seams in the sheet metal to repair leaking concavity or gutters.
The alloy of lead and tin that melts using an electric soldering gun, an electric soldering iron, or a portable propane torch at 350 to 450 degrees is called solder.
Steps In Soldering Metal Together
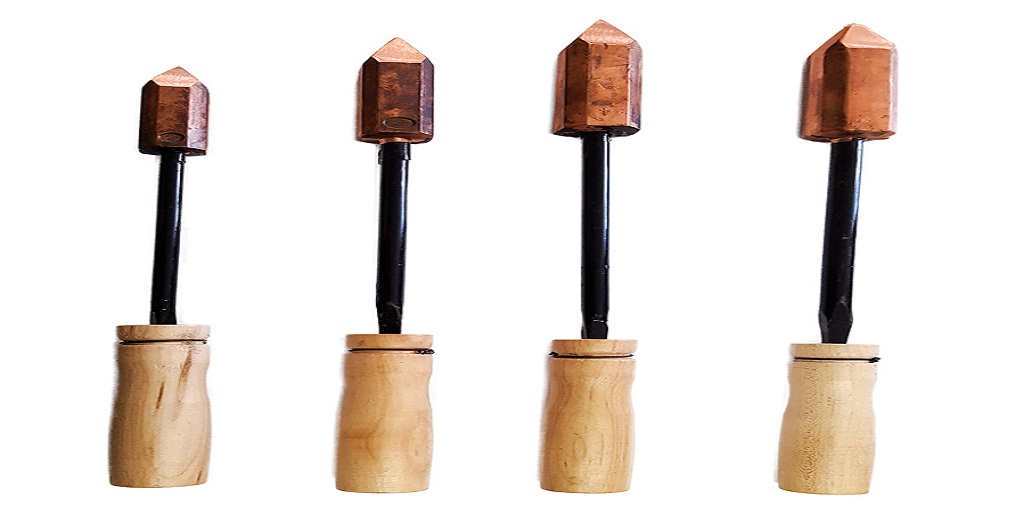
● Using sheet metal soldering iron ferrous metals like galvanized sheet metal are fused together. Soldering guns are more suitable to use, especially in confined spaces, but large sheet metal soldering irons can deliver more heat to the joint when there are larger metal pieces to deal with.
● If more heat is required, especially for larger jobs and for bigger metal joints, torches are used. When assembling sheet metal or when joining heavy wires, torches are used to heat nonelectric soldering irons to help the molten solder to flow smoothly into the joint.
● Before soldering the metal surfaces must be clean and shiny so the metal won’t form another coating of oxide. Prior to soldering, joints in sheet metal should be crimped, folded and must be mechanically strong before the solder is applied
● If a sheet metal soldering iron is being used, the tip should be coated with a thin film of solder first. To clean the metal on the tip faces, use sandpaper until it is bright and shiny
You must not melt the solder with direct heat from the sheet metal soldering iron when soldering.
● This part is the most repeated cause of weak and poorly soldered joints. Use the metal soldering iron to heat the metal only, focusing on the thickest and heaviest parts. While touching the solder to the joint, carefully pull the source of the heat away. You may find it necessary to keep the iron in contact with the metal when using a sheet metal soldering iron, to keep the joint hot enough to melt solder. With this, keep the iron on the other on a part that is a little far away from where you are feeding in the solder.
Remove the solder and the iron as soon as the spaces between the wires are full.
● Next, fasten the surfaces securely together and heat again, using a soldering iron. But focus most of the heat on the bigger pieces of metal. The heat will affect the tinning coat on each surface to melt and join together while you add more solder along the edge of the joint.
The same method is used when soldering copper pipes. After having cleaned the outside of the pipe and the inside of the fitting, you join the pipe and the fitting together.
Do not forget to apply flux to these surfaces before inserting the pipe in its fitting. Then apply direct heat from a propane torch onto the biggest part of the connection. Allow the heat to disperse from this part into the rest of the joint.
And then draw the flame away and feed the solder all around the fitting once the metal is hot enough to melt the solder.
If it’s not for a household project, soldering is an art. If you’re looking for sheet metal soldering iron, and more, check out our collection at www.stortz.com.


