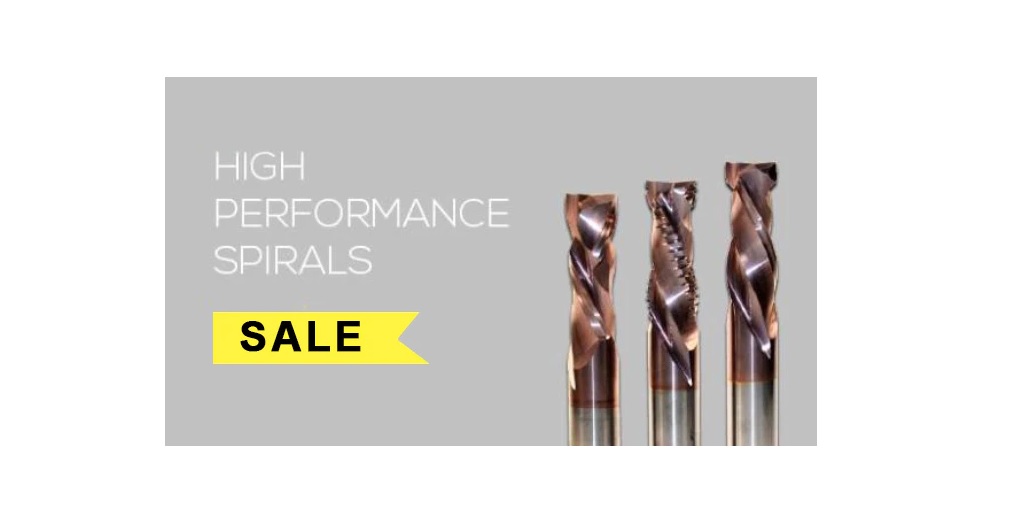
Woodworking is an art that demands precision and finesse, and the edgebander tooling plays a vital role in achieving flawless results.
However, even the most experienced woodworkers encounter challenges with their edgebander tooling from time to time. Whether it’s uneven edgebanding application, poor adhesion, or chipping, these issues can be frustrating and impact the quality of your final product.
In this article, we will look into the common problems faced with edgebander tooling and give you some practical tips and solutions on how to overcome them.
Uneven Edgebanding Application
One of the most common challenges faced with edgebander tooling is achieving even and consistent edgebanding application. Uneven edges can mar the appearance of your project, leaving you dissatisfied with the end result.
Solution: Calibrate and Adjust the Edgebander
To address the challenge of uneven edgebanding application, it’s crucial to focus on the heart of the process – the edgebander itself. Proper calibration and adjustment of the edgebander will significantly impact the quality of your results. Here’s how you can ensure a flawless edgebanding process:
- Check Pressure Rollers and Feed Speed Settings: Start by inspecting the pressure rollers and feed speed settings on your edgebander. These elements play a crucial role in the smooth application of edgebanding materials.
- Inspect Cutterheads: The cutterheads of your edgebander are responsible for trimming the excess edgebanding material after application. Over time, cutterheads may wear out or become damaged, leading to inconsistent results. Regularly inspect and replace any worn or damaged cutterheads to maintain precise trimming and a seamless finish.
- Calibration and Fine-tuning: Calibrate your edgebander periodically to ensure it remains accurate and aligned. Fine-tune the machine to match the specific requirements of your woodworking project. The more precise your adjustments, the more consistent and even your edgebanding application will be.
Poor Adhesion and Delamination
Nothing is more disheartening than edgebanding materials that fail to adhere properly or delaminate shortly after application. Poor adhesion compromises the durability and appearance of your woodworking projects.
Solution: Preparing the Workpieces and Using the Right Adhesive
To combat poor adhesion, proper preparation of workpieces is essential. Ensure that the panel surfaces are clean, free from dust, and devoid of any residue that may hinder adhesion.
Additionally, choose the appropriate adhesive for the specific edgebanding material and the material of your workpieces. Different edgebanding materials may require different adhesives to achieve optimal bonding.
Chipping and Tear-out
Chipping and tear-out can occur during the edgebanding process, leaving unsightly marks and affecting the overall finish of your project.
Solution: Optimize Tooling and Cutting Parameters
To prevent chipping and tear-out, pay close attention to your tooling and cutting parameters. Select high-quality edgebander tooling with precision ground cutters that are designed to minimize chipping.
Adjust the cutting depth and feed speed to suit the specific material you are working with. Properly maintained tooling and optimized cutting parameters will ensure smooth and clean edges on your workpieces.
Mastering Edgebander Tooling Troubleshooting for Unparalleled Craftsmanship
By understanding and addressing common problems such as uneven edgebanding, poor adhesion, and chipping, you can elevate your craftsmanship to unparalleled heights.
CarbideTooling.net has a wide range of edgebander tooling products. Visit their website so that you can find the right tools to help you overcome and avoid these tooling problems.


