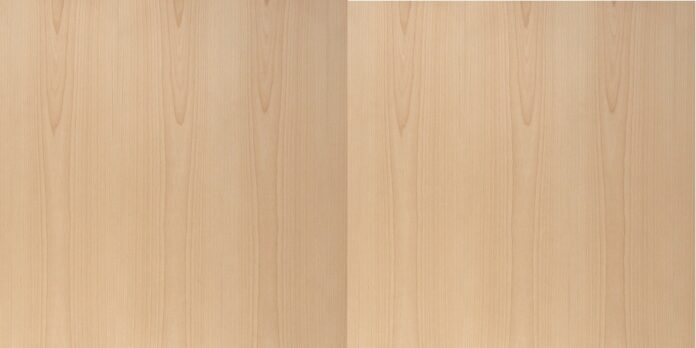
Strong, hard, and easy to work with, birch is a choice wood for many woodworking projects, and birch veneer is one way to get the most out of it while skirting the costs associated with solid hardwood.
But if you’re applying birch veneer to your next project, make sure you don’t overlook these five important tips.
1. Make sure you mix your adhesive thoroughly
This is one of the most important steps in applying wood veneer (not just birch veneer) and many people overlook this vital step.
In order to activate certain adhesive compounds, the solid and solvent components must be thoroughly, homogeneously mixed.
Failing to do so will result in inadequate or inconsistent adhesion, and can result in bubbling and peeling in areas where the adhesive did not create an adequate interface between the wood veneer sheet and the substrate.
2. Start with a reliable, appropriate substrate
Not all substrates are ideal for the application of wood veneer. They should be stable and appropriate for the given application.
One of the most reliable substrates for use with wood veneer is MDF, or medium-density fiberboard. Particleboard and plywood are also suitable substrates.
Interestingly, solid hardwood is not the best substrate for wood veneer applications unless the grains are aligned properly. (But that is the subject for a whole other article.) Also, drywall, plaster, concrete, and cardboard are less than ideal substrates for wood veneer projects.
3. “Climatize” the birch veneer before use
For a solid period of at least two days (48 hours) store the birch veneer and your substrate in the same environment.
This will ensure they have been exposed to the same temperature and relative humidity for a prolonged period of time, helping to ensure proper adhesion when you apply them (see an additional note on humidity below).
Also, ensure that both surfaces – the veneer backer and the substrate – are entirely free of dirt, dust or any other particulate matter before beginning your project.
Failing to thoroughly clean the substrate surface before applying wood veneer is nearly guaranteed to result in poor adhesion, regardless of the adhesive you use.
4. Don’t work with veneer when ambient humidity is not favorable
You want to avoid sealing in moisture as much as possible. To do so, save your wood veneer project until the relative humidity is at 51% or lower.
If you apply veneer in a very humid environment, it can shrink later, which will ruin the finish and can cause it to pull or peel away from the substrate.
Applying wood veneer when the relative humidity is too high may also complicate adhesive drying time or consistency.
5. Never use a pinch roller or laminate roller. Instead use a scraper to evenly apply the veneer and press out bubbles
Proper, consistent veneer application is critical to the success of the project.
A wood scraper is your best tool to press the veneer flatly and evenly onto the substrate ensuring proper adhesion and pressing out any bubbles. You can also improvise a scraper from a radiused piece of 2×4. Do not use a J-roller as it will not allow you to apply adequate pressure to the veneer surface.
When using your scraper, apply firm, even pressure, start at the center of the veneer sheet and work outwards. This will help prevent bubbles from forming.
High-Quality Birch Veneer Online
The quality of your raw materials will impact the quality of your finished product. Trust Oakwood Veneer for birch veneer.
They’ve been the foremost authorities on wood veneer and veneer projects for over 25 years and carry red and white birch veneer, flat, quartered, and rotary cut, as well as beautiful Karelian burl.
Visit their website for more information or get in touch with them at 800-426-6018.


